
Mehndi, also called henna, is a special kind of paste made from a plant. People use it to draw pretty designs on their hands and feet. It looks like art on the skin, and the best part is—it’s not forever, it slowly fades away after some days.
All around the world, people love mehndi. In India, Pakistan, Africa, and even in Western countries, it is used to make celebrations more fun. People wear mehndi during weddings, birthdays, Diwali, Eid, parties, or even just for fun when friends gather.
These days, DIY (Do It Yourself) mehndi designs are very popular. Instead of waiting for an artist, many people want to try drawing their own patterns at home. It saves money, it’s fun, and you can make your own style. With a little practice, anyone—even beginners—can make simple but beautiful mehndi designs.
Beginner-Friendly Mehndi Designs
If you are just starting to draw mehndi, don’t worry! You don’t need to make big and difficult designs. You can begin with very easy ones that still look beautiful.
1. Simple Floral Patterns
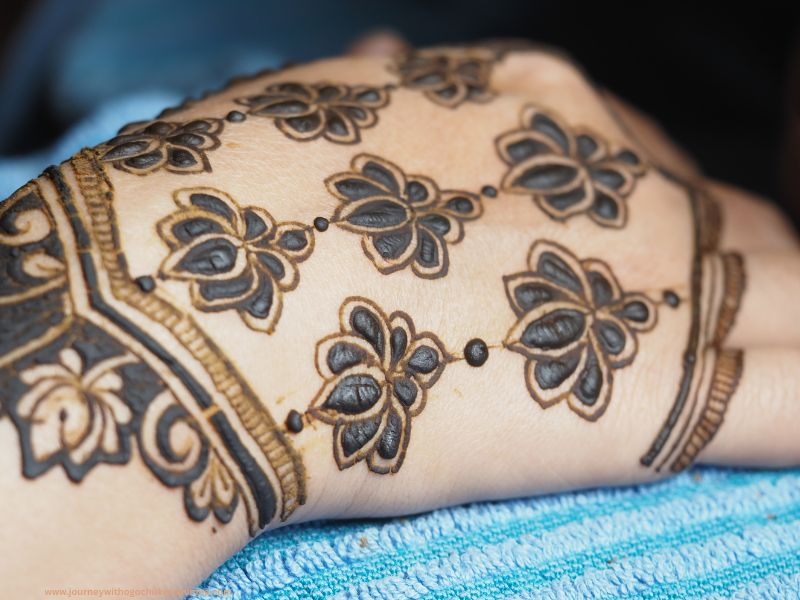
Start by drawing a small circle, then add a few tiny petals around it—like a little flower. You can make one flower in the middle of your hand or many small flowers in a line. Flowers are always pretty and never go wrong.
2. Dots & Leafy Trails
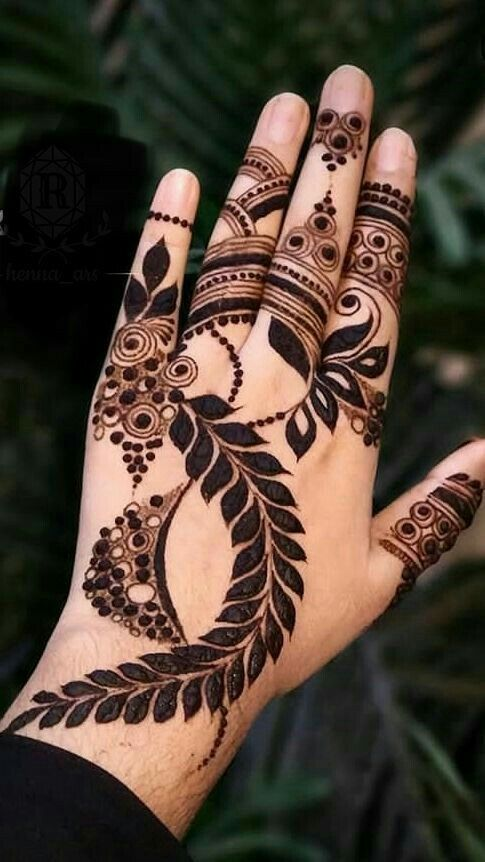
Dots are the easiest! Just press the mehndi cone and make small round dots. You can put them in a line or make them dance around your fingers. Add tiny leaves around the dots to make a leafy trail—it will look like a pretty plant growing on your skin.
3. Easy Wrist or Finger Designs
Don’t want to cover your whole hand? No problem! You can make a small design only on your fingers or your wrist, like a bracelet or a ring. Just draw lines, dots, and tiny leaves around your wrist, and it will look like you are wearing jewelry made of DIY mehndi designs
Trendy DIY Mehndi Designs
When you get a little better at drawing mehndi, you can try some new and cool styles. These designs are very popular and make your hands look fancy.
1. Minimalist Mehndi for a Modern Look
“Minimalist” means keeping it small and simple. You don’t need to fill the whole hand. You can just make one flower, a star, or a small line of dots. It looks clean, smart, and modern—like tiny art on your hand.
2. Arabic-Inspired DIY Designs
Arabic designs are very pretty and easy. They usually go in a slanting line across your hand. Imagine a flower and leaves starting from your wrist and moving up to your finger. It’s like a little garden growing in one direction.
3. Mandala Circles for the Palm
A mandala is a big round design, like the sun or a wheel. You start with a small circle in the middle of your palm, then add more circles, petals, or lines around it. It looks like magic art that spreads out from the center of your hand.
Step-by-Step Guide
If you want to make your own mehndi at home, here are some easy steps to follow.
1. How to Prepare Henna Cone at Home
Take some henna powder, lemon juice, and sugar. Mix them together until it looks like smooth green paste. Then, cut a piece of plastic (like a shiny wrapper) and roll it into a small cone, like an ice-cream cone. Fill the cone with the paste and close the top with tape or a rubber band. Yay! Now you have your very own mehndi cone.
2. Tips for Holding the Cone Like a Pro
Hold your cone just like you hold a pencil. Don’t press too hard, or too much mehndi will come out. If you press gently, you can draw thin and neat lines. Always keep your hand relaxed, so your design comes out smooth, not shaky.
3. Practice Sheet Patterns Before Applying on Skin
Before you draw on your hand, take a piece of paper or plastic and practice. Try making circles, dots, flowers, and lines. Once you get better, you can start drawing on your hands. Practicing first will make your designs look neat and beautiful.
Quick Mehndi Hacks
Here are some little tricks that will make your mehndi look even better and last longer.
1. Use Tape or Stencils for Neat Shapes
If you find it hard to draw straight lines or shapes, don’t worry! You can use tape or stencils (plastic cut-outs). Just stick them on your hand, put mehndi over them, and remove. Tada! You’ll get clean and perfect shapes without any stress.
2. How to Make Mehndi Last Longer & Look Darker
After you finish your design, let the mehndi dry well. Don’t wash your hands right away. You can dab lemon juice mixed with sugar on it—that makes the color come out darker. Keep the mehndi on your hand for many hours (even overnight if you can). When it’s dry, just scrape it off instead of washing. This way, the design stays longer and looks deep brown.
3. DIY Tricks for Beginners to Avoid Smudges
Sometimes mehndi smudges if you touch it before it dries. To stop this, sit still for some time and keep your hands apart. If you’re worried, ask someone to blow on your mehndi or use a hair dryer on cool air. This will dry it faster and keep your design safe.
Occasion-Based Designs
Different days need different mehndi styles. Let’s see which designs match each occasion!
1. Bridal-Inspired Simple DIY Patterns
Brides usually wear very big and full mehndi, but you can try a simple version at home. Make flowers, leaves, and swirls all joined together from your wrist to your fingers. It will look like a mini bridal style—beautiful and special for big days.
2. Eid/Diwali Festive Designs
On Eid or Diwali, hands look extra pretty with mehndi. You can draw small stars, moons, and flowers. Add dots and leafy lines to make it shiny and fun. These designs don’t need to cover the whole hand—just a few festive patterns will make your hands glow.
3. Everyday Casual Chic Mehndi
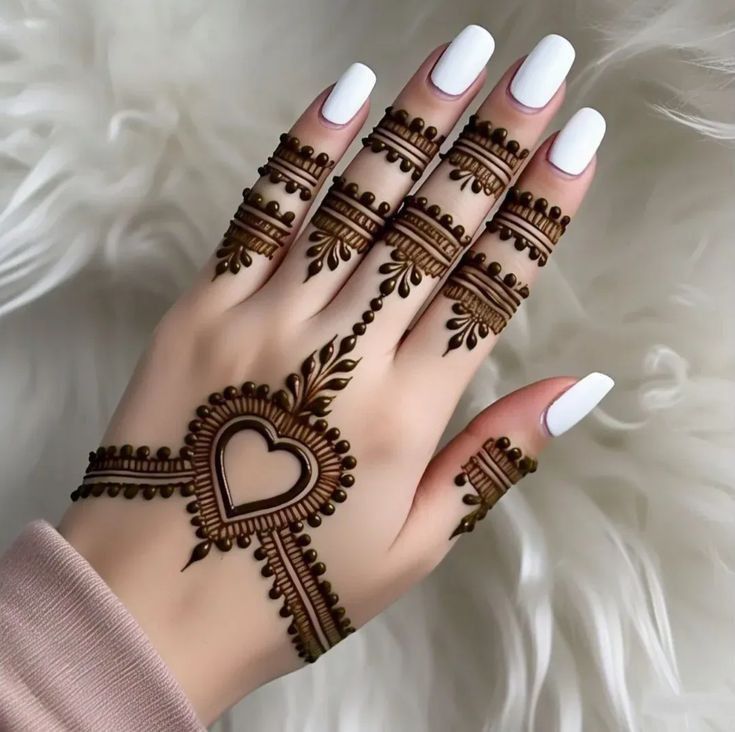
Mehndi is not only for weddings or festivals—you can wear it every day too! For a simple look, make a small flower on your finger, a heart on your palm, or a leafy line on your wrist. These tiny designs are quick, cute, and perfect for school, work, or just hanging out with friends.
Final Tips & Inspiration
1. Practice Makes Perfect 🖌️
The more you practice, the better your mehndi will look. At first, your lines may shake or look funny, but don’t worry! Keep trying, and soon your hands will draw like magic.
2. Mix & Match Designs to Create Your Own Style 🎨
You don’t have to copy one design all the time. You can take a flower from one style, a leaf from another, and a circle from another. Put them all together, and you will have your very own mehndi style—unique and special!
3. Encourage Readers to Try and Share 💕
Don’t be shy! Mehndi is for fun. Try it on yourself, your sister, your mom, or your friends. Share pictures of your designs and feel proud of your art. The more you share, the more people will love your work.
Conclusion
DIY mehndi designs is not just decoration—it is art, tradition, and fun all in one. With simple DIY steps, anyone can learn to draw flowers, leaves, dots, and circles. From beginner patterns to trendy Arabic lines or mandala circles, there are designs for every person and every occasion.
you may also like:
21 Gorgeous Plus Size Fall Winter Outfits Curvy Women Can Rock


One thought on “10 Easy DIY Mehndi Designs You Can Do at Home”
Comments are closed.