Have you ever looked at your nails and thought, “Hmm, I really want them to look cute, but I don’t want to leave the house?” That was me the other day. It was so rainy, gloomy, and just boring outside. I didn’t want to step out. I had just woken up from a two-hour nap, and I thought to myself, “Why don’t I try doing my own acrylic nails?”
I’ve been getting my nails done for years, and honestly, I love the look of acrylic nails. Some people say acrylic is bad for nails. And yes, I know it can damage them if you don’t take care. But let me tell you the truth—I still love them. They make me feel good, classy, and stylish. So instead of going to a salon, I decided to do my own acrylics at home.
This is the full story of how I did it—step by step. I’ll share my supplies, the process, my mistakes, and tips so you can also try it if you want. And don’t worry, I’ll explain everything in simple words so it feels like we’re sitting together and doing nails.
What You Need to Do Acrylic Nails at Home
Before I started, I made sure I had all my supplies ready. You can’t just jump into acrylic nails without the right tools. Here’s what I used:
-
Nail tips with glue
-
Nail dehydrator
-
Nail protein bond (primer)
-
Nail file and buffer
-
Nail brush
-
Acrylic powders (I had different colors, but I chose nude and white)
-
Acrylic liquid
-
UV gel top coat
-
UV lamp
-
Nail drill (but you can also use a regular file if you’re careful)
-
Nail cutter
All these tools help to make the nails strong and smooth. You can get them online or at beauty shops. Don’t worry if you don’t know all of them—I’ll explain how they’re used.
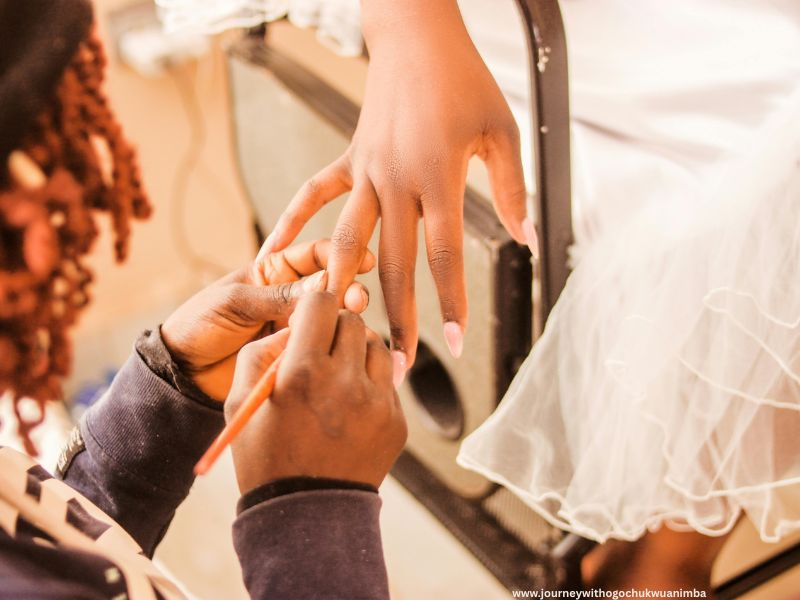
Step 1: Choosing and Gluing the Nail Tips
The first thing I did was pick out nail tips that fit my natural nails. This step is important because if the tip is too big or too small, it won’t look nice. Once I found the right sizes, I used glue to stick each tip on my nails.
I pressed them firmly to make sure there were no gaps. If you don’t press well, air can get in, and the nail might lift later. That’s not what we want!
After that, I cut the tips to the length I wanted. Personally, I don’t like super long nails because they make it hard to type, cook, or wash dishes. I chose a medium length—long enough to look pretty, but short enough to still live my life.
Step 2: Shaping and Filing
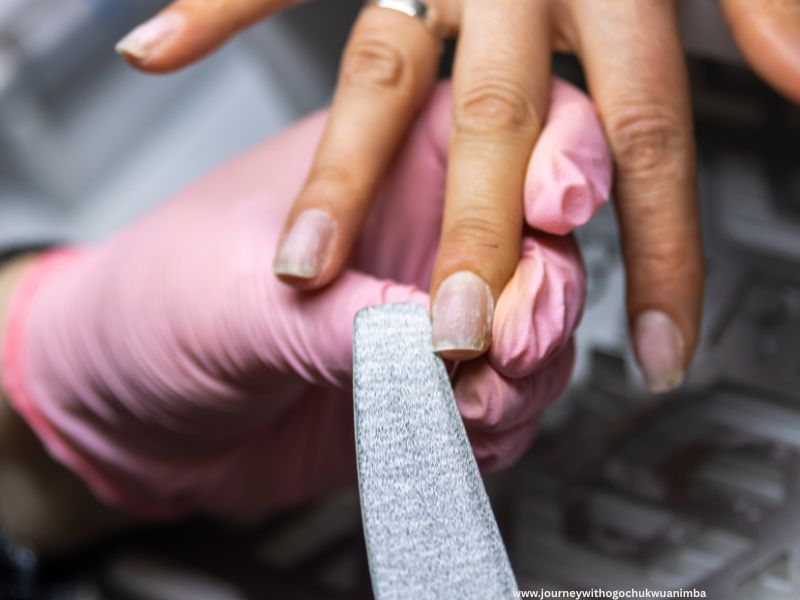
Once the tips were glued, I had to shape them. My favorite shape is coffin nails (they are straight at the sides and slightly squared at the tip). So, I filed the sides to make that shape.
I also blended the area where my real nail and the fake tip met. This helps the acrylic powder stick smoothly later. If you skip this step, you might end up with a thick bump where the fake and real nail join—and trust me, it doesn’t look nice.
I buffed the surface of my natural nails too. This makes them rough enough for the acrylic to grip onto.
Step 3: Shaping and Filing

Next, I used a nail dehydrator on my natural nails. This removes oils and helps the acrylic stick better. Then I applied protein bond (primer) twice. This step is like preparing the ground before planting a seed. If you don’t do it, the acrylic may not last long.
Remember, only apply these on your natural nails, not on the fake tips.
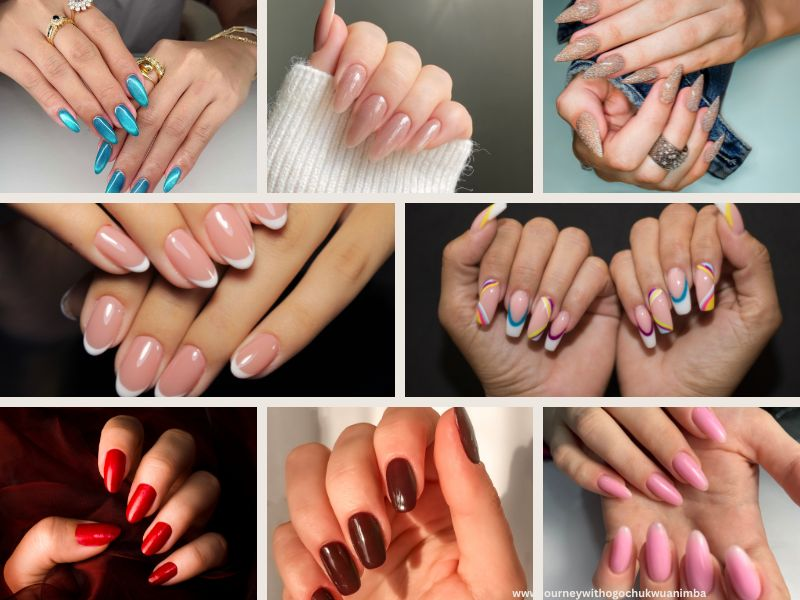
Step 4: Picking My Nail Design
At first, I thought of doing plain nude nails. But then I said, “Nope, I want a challenge.” So I decided to try ombre nails—nude at the base, fading into white at the tip. This is one of my favorite nail looks because it’s classy and perfect for any event.
Step 5: Applying the Acrylic
This part was the hardest for me because it was my first time. You have to mix the acrylic powder with acrylic liquid using a brush. The mix should not be too runny or too dry. Mine came out a little runny, but I tried my best.
Here’s what I did:
-
I dipped my brush into the liquid.
-
Then I tapped it into the powder to make a small bead.
-
I placed the bead where the tip meets my natural nail.
-
I spread and blended it gently down the nail.
For ombre, I started with nude near the cuticle and then added white at the tip. I blended them until they looked soft and smooth.
It wasn’t perfect, but hey—it was my first try!
Step 6: Buffing and Smoothing
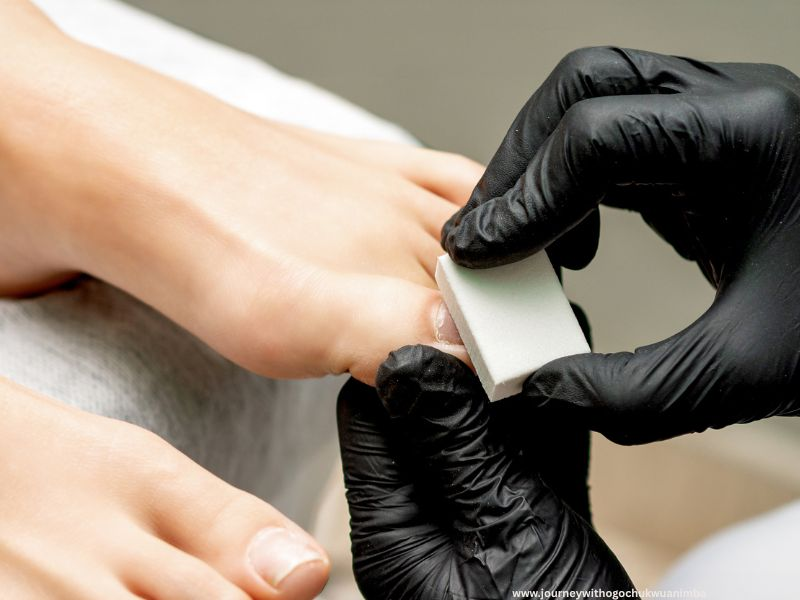
Once the acrylic dried, I filed the nails again to make the shape sharp and clean. I buffed the surface to smooth out any bumps. This is where patience matters. If you rush, your nails might look uneven.
I also had to be careful with the drill because in the past, nail techs drilled my nails too hard and left them sore. This time, I gently hand-filed most of the nails instead.
Step 7: Top Coat and Shine
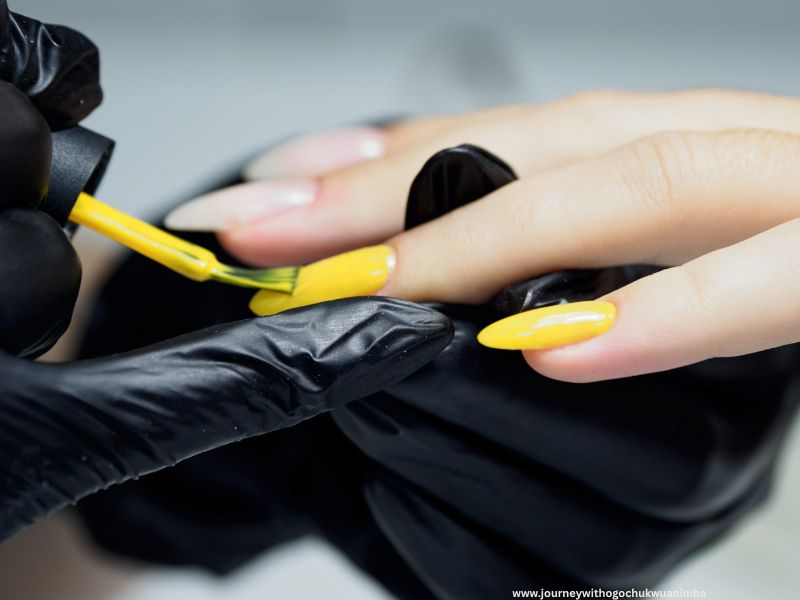
The final step was the most satisfying. I applied a gel top coat on all my nails and cured them under the UV lamp. Instantly, they looked shiny, polished, and professional.
I couldn’t believe I had done them myself at home.
What I Learned from Doing My Own Acrylics
-
Patience is key. If you rush, the acrylic will look messy.
-
Practice makes perfect. My ombre wasn’t salon-perfect, but it was still pretty.
-
The right ratio matters. Too much liquid makes it runny. Too little makes it clumpy.
-
Take care of your natural nails. Don’t over-file, and always remove acrylics gently.
-
It saves money! A salon set can cost a lot, but doing it at home is way cheaper once you have the tools.
Why I Love Acrylic Nails
Even though people say acrylic can damage nails, I still love them. Here’s why:
-
They last longer than regular polish.
-
They give me confidence.
-
They can be shaped and designed however I want.
-
I can match them to my mood—classy, fun, or colorful.
For me, it’s not just about nails. It’s about self-care. Every time I look at my hands, I feel a little spark of joy.
Tips If You Want to Try Acrylics at Home
-
Start with simple designs before trying ombre or art.
-
Always prep your nails properly (dehydrate + primer).
-
Don’t buy super cheap acrylic kits—they might not last.
-
Practice on one hand first before doing both.
-
Keep your work area clean because acrylic liquid smells strong.
Conclusion
Doing my own acrylic nails at home was both fun and challenging. I won’t lie—it takes practice, and the first set may not be perfect. But the feeling of looking down at your nails and knowing you did them yourself? Priceless!
If you’re thinking of trying acrylic nails, I say go for it. Start small, be patient, and enjoy the process. Who knows—you might even get better than some nail salons out there.
At the end of the day, nails are about expression. Whether you keep them short, long, simple, or fancy—make sure they make YOU happy.
YOU MAY ALSO LIKE:


One thought on “How To Do Stunning Acrylic Nails: 7 Steps (With Pictures)”
Comments are closed.